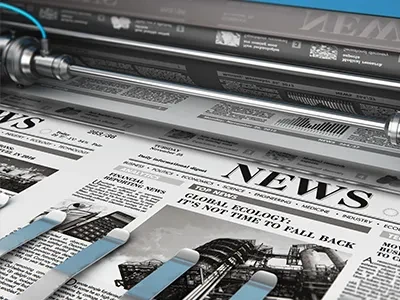
While the overall workflow for operating a digital printer may appear simple, every step directly impacts the final output quality.
Before starting the machine, check the power supply, ink delivery system, and printhead status, ensuring ink levels are sufficient and there are no leaks. Next, perform a nozzle check to identify any missing lines or clogs. If the printer has been idle for an extended period, clean the printheads or perform maintenance to ensure smooth ink flow.
Import the design file into the RIP software for processing, which includes adjusting image resolution, managing color, handling layout, and selecting print modes. Choose the appropriate print resolution and ink volume based on the material, and configure layer settings for white ink, colored ink, or varnish. This step is crucial for the final result; incorrect parameter settings can easily lead to color deviations or blurry images.
Secure the material onto the print bed, ensuring it lies flat and stationary, then start the print job. The machine automatically manages ink jetting and motion control according to the programmed path. Monitor the operation in real-time to prevent issues such as paper jams, misalignment, or printhead malfunctions; however, avoid manual intervention during printing to maintain positioning accuracy.
Once printing is complete, promptly clean any residual ink from the print bed and perform printhead retraction or cleaning to prevent ink from drying and clogging the nozzles. Before powering down, verify that the machine has returned to its home position and the printheads are safely parked. For long-term use, perform regular guide rail lubrication and system calibration to ensure stable operation and consistent print accuracy.